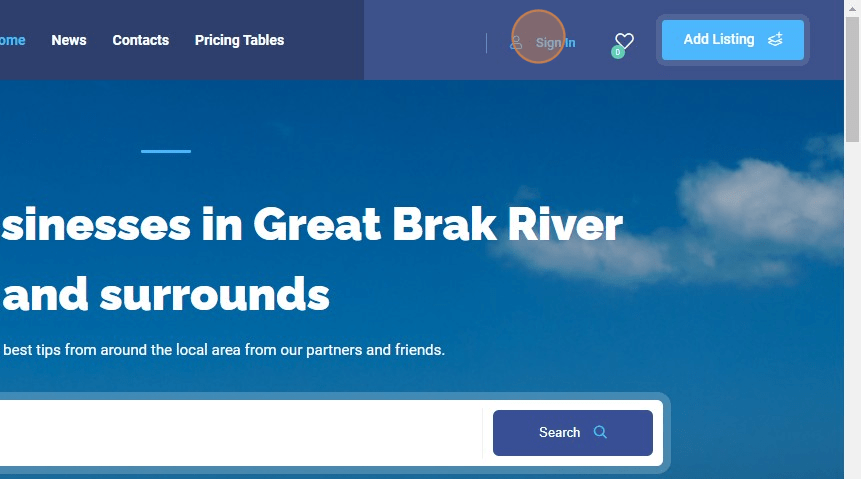
1. Navigate to https://snuffel.co.za/
2. Click “Sign In”
3. Enter your user email address
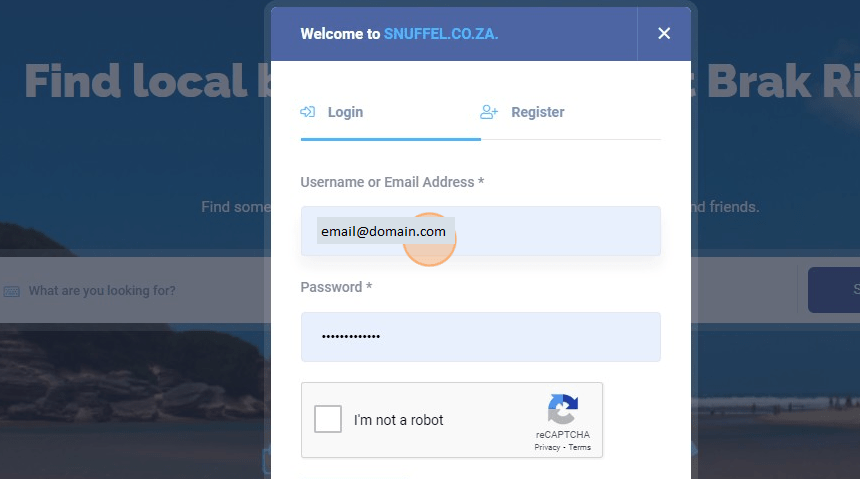
4. Enter your password

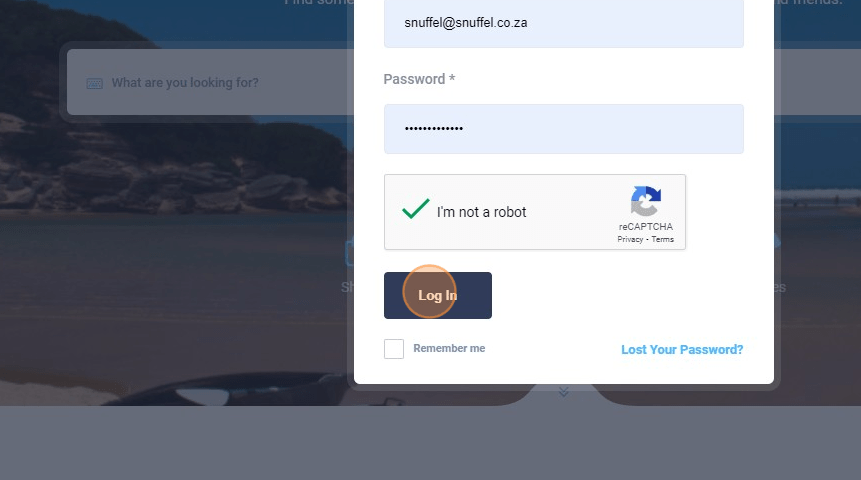
5. Click on “I’m not a robot”
6. Click “Log In”
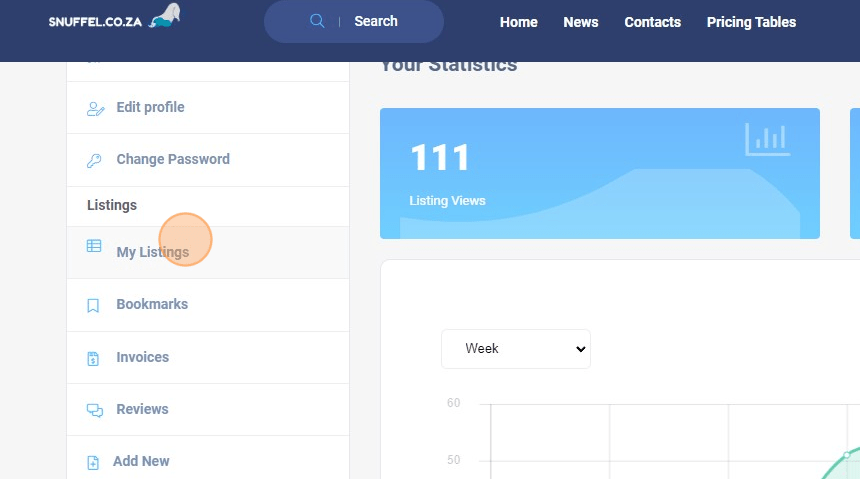
7. You should be directed to your user Dashboard
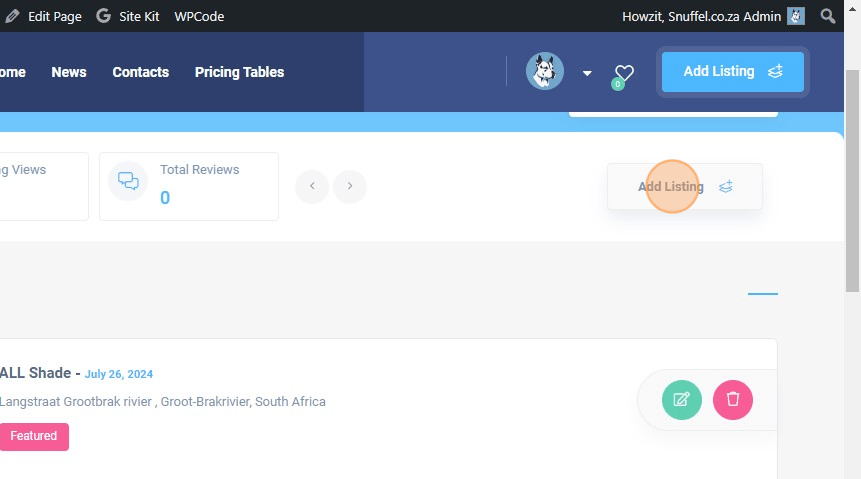
8. Click “My Listings”
9. Click “Add Listing”
10. Choose your listing type.

11. Click the “Name of your business” field.
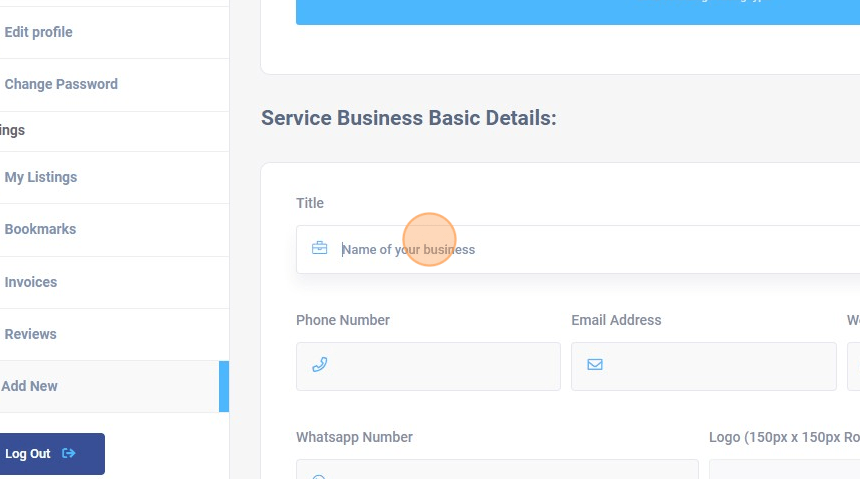
12. Type Your Business Name
13. Click on the Phone Number text field.
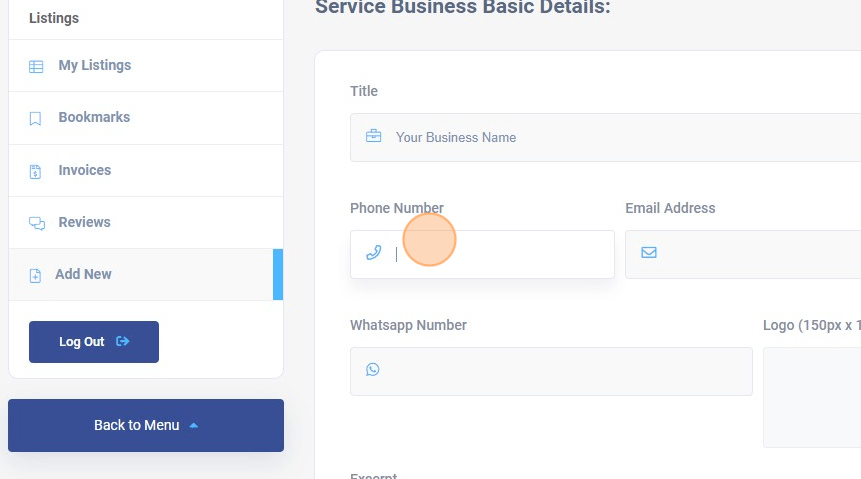
14. Type Your Business Phone Number
15. Click on the “Email Address” text field.
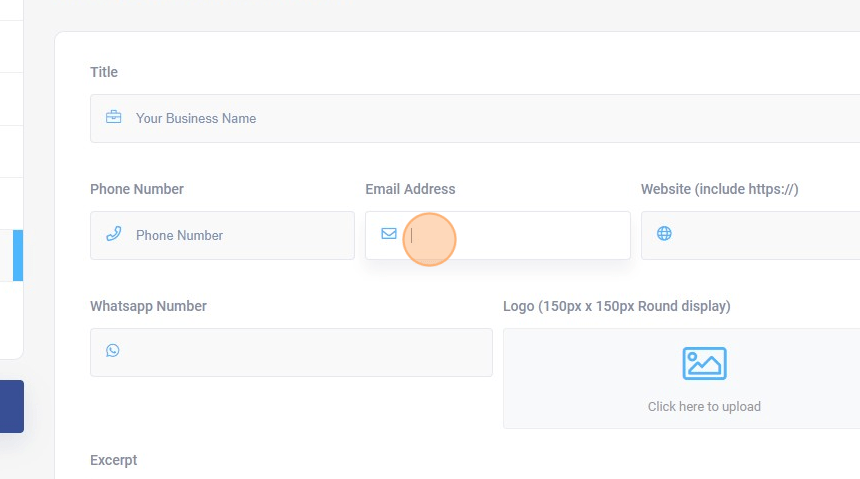
16. Type Your Business Email
17. Click on the “Website” text field.
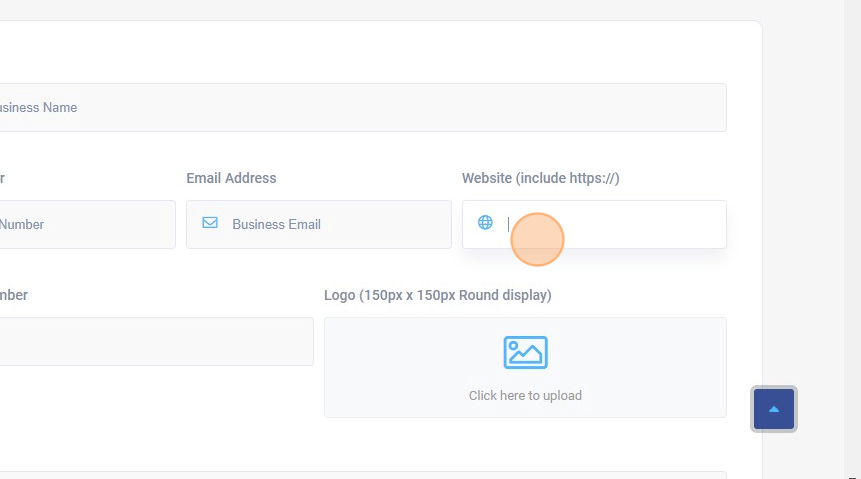
18. Type Your Business Website url (ie. https://yourdomain.com)
19. Click on the “WhatsApp Number” text field.
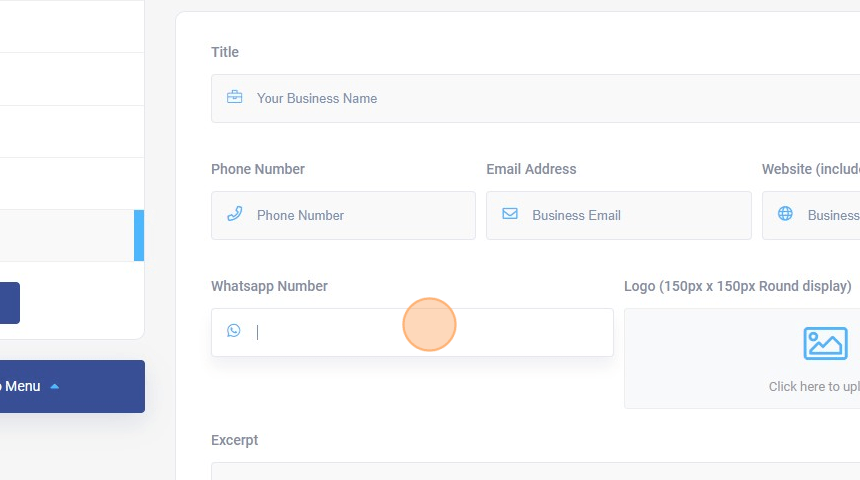
20. Type Your Business WhatsApp number
21. Click on the logo upload field.
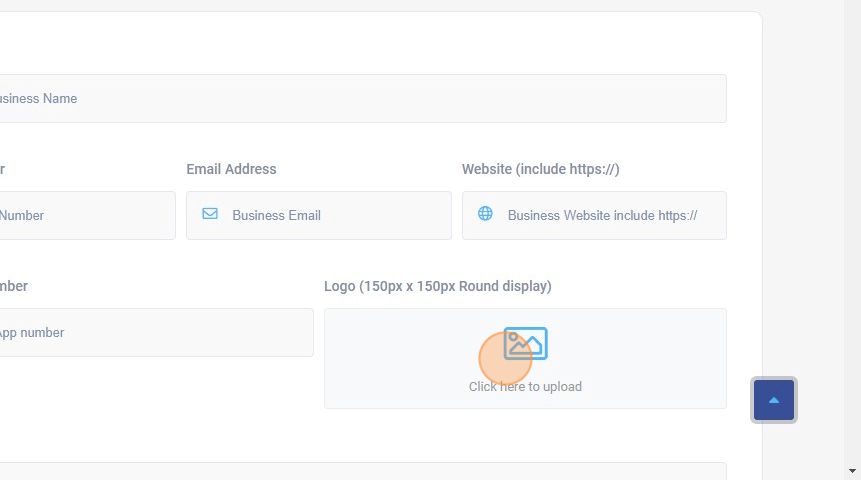
22. Click “Select Files”
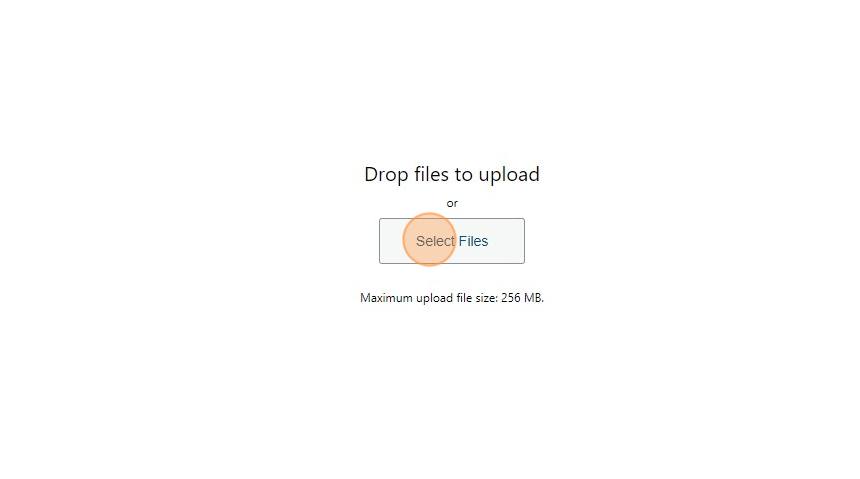
23. Upload your logo image (150px x 150px)
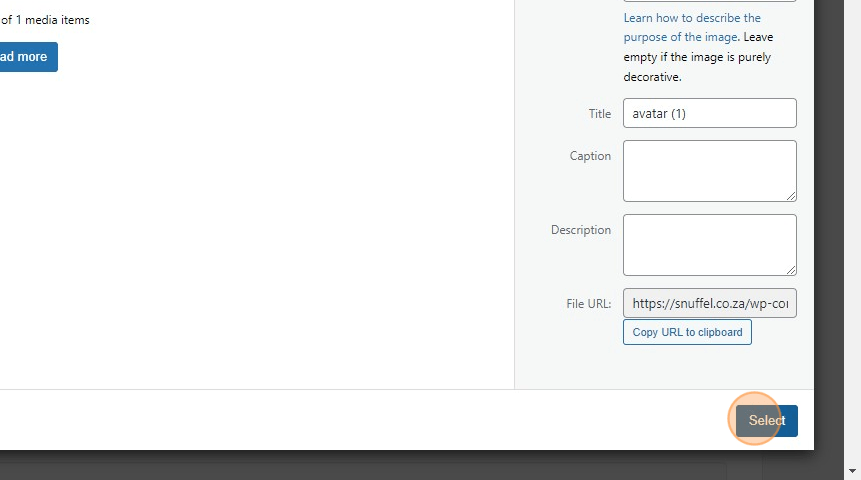
24. Choose your image
25. Click “Select”
26. Click the Excerpt field.

27. Type a excerpt for the search result
28. Click on the Description field.
29. Enter your business description
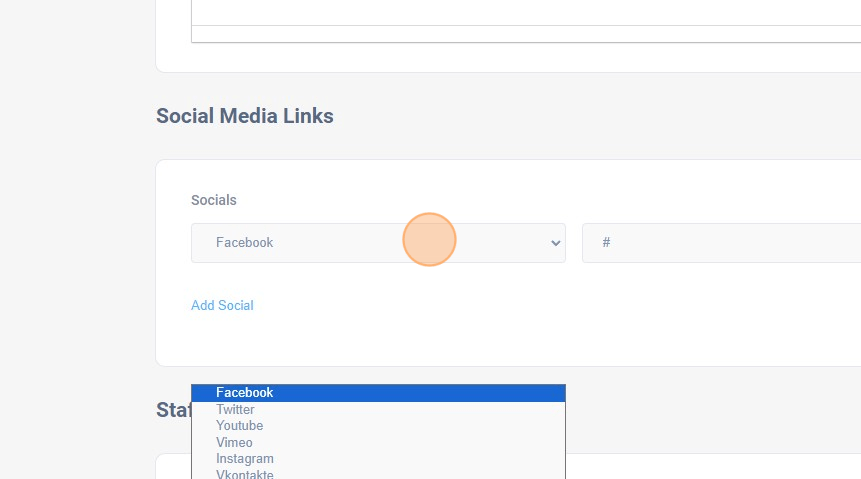
30. Click “Socials”
31. Click “Add Social”
32. Choose a social platform from this dropdown.
33. Click the “Social URL” field.
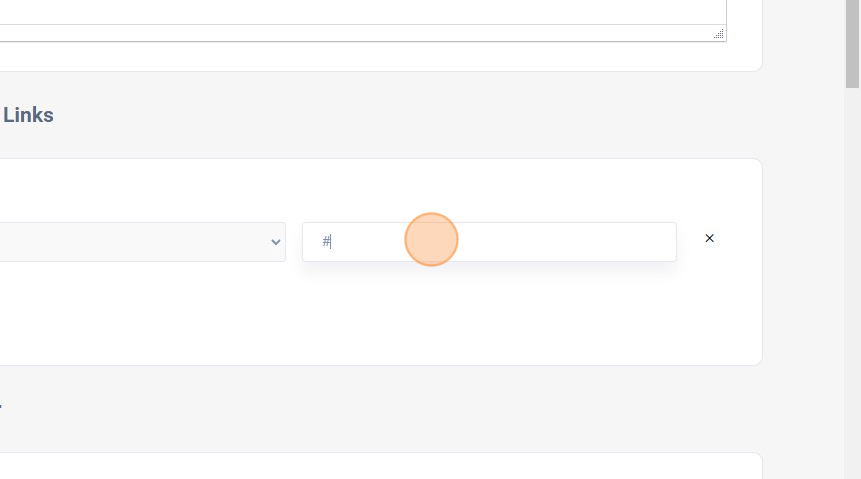
34. Enter your social account url
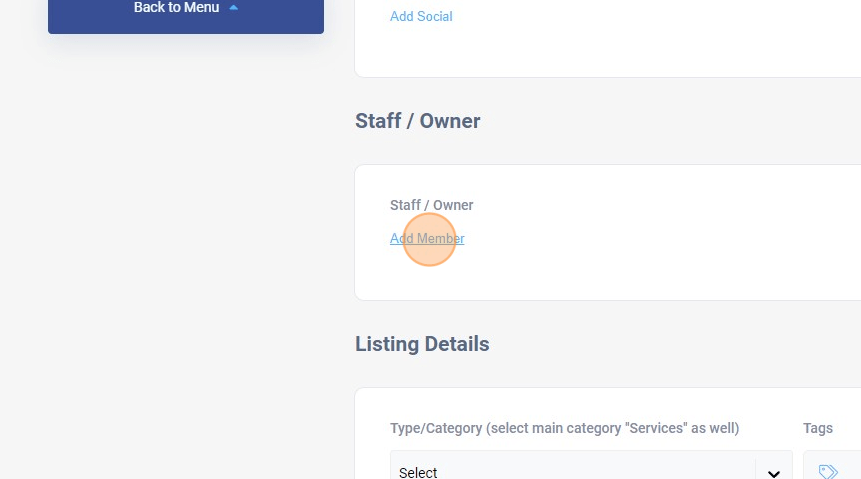
35. Click “Add Member”
36. Click this text field.
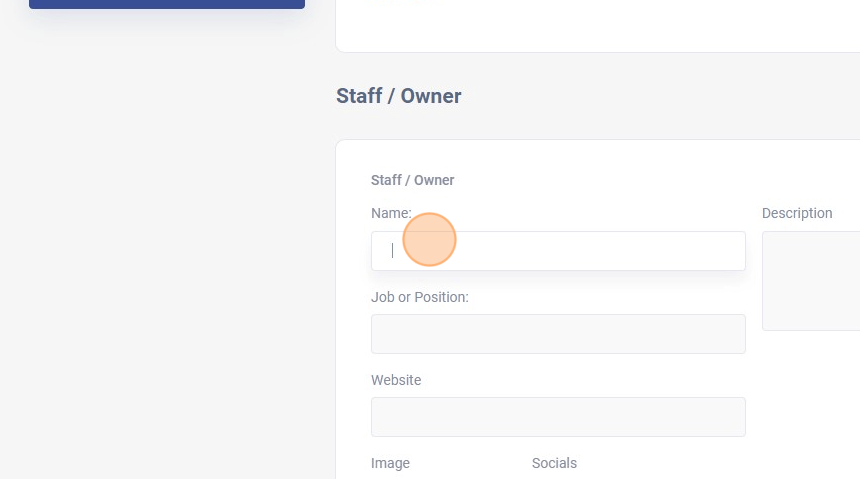
37. Enter person name
38. Click on the “Job or Position” text field.
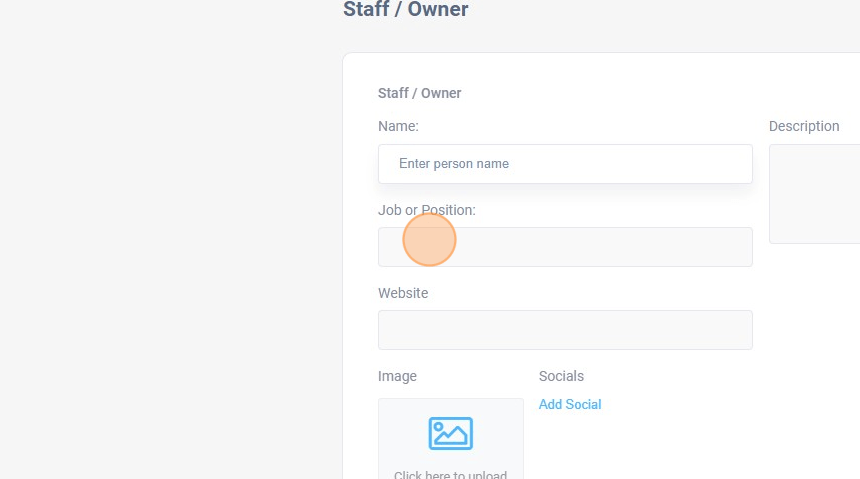
39. Enter Job or position
40. Click on the “Website” text field.
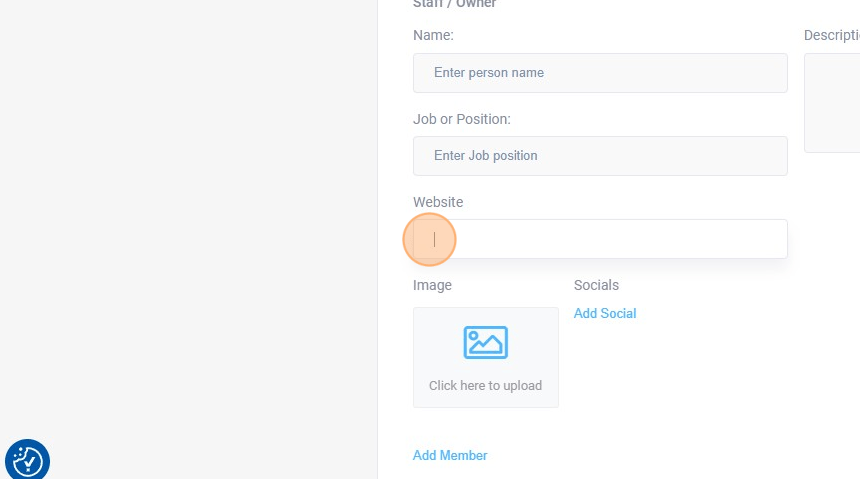
41. Enter website domain url
42. Click on the image upload button.
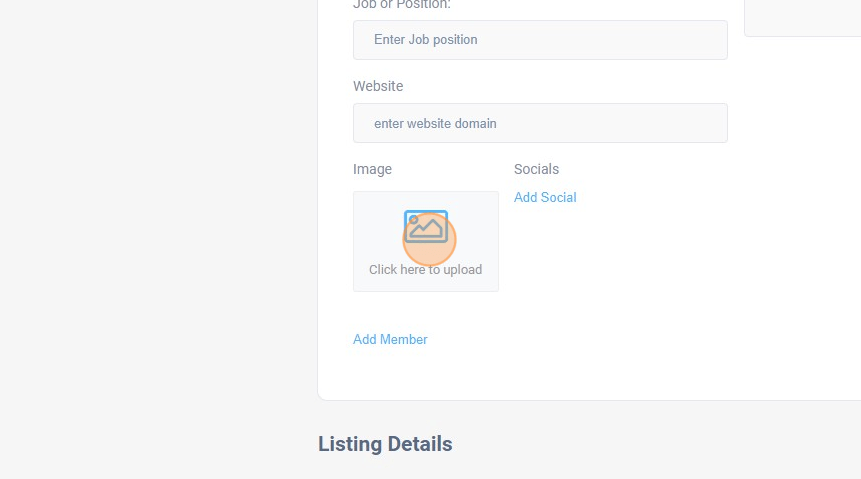
43. Upload and choose your photo then click on “Select”
44. Click on the “Description” field.
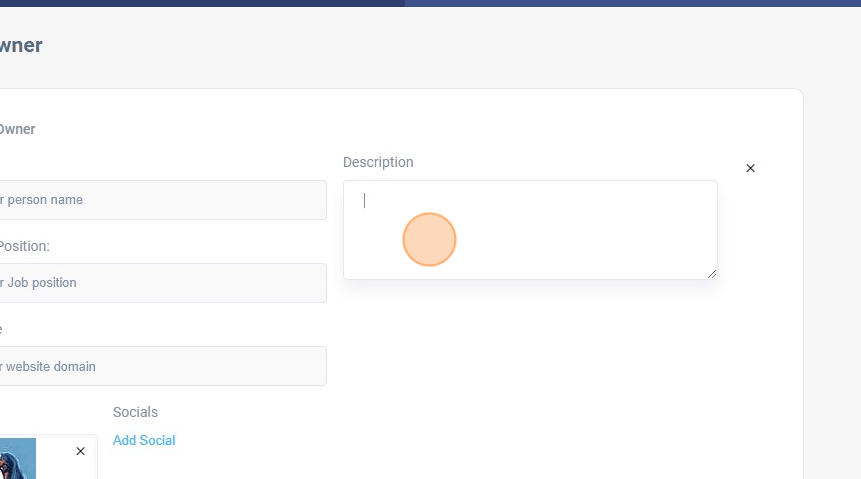
45. Enter a short description of the person
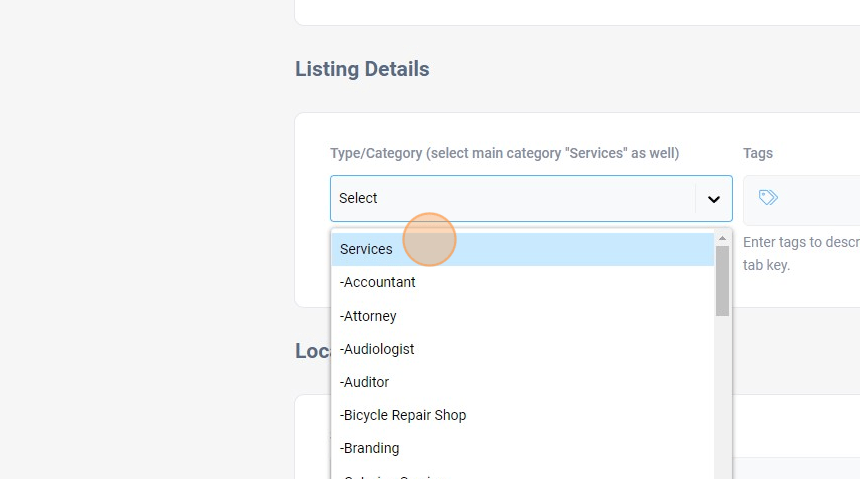
46. Click on the “Select” dropdown.
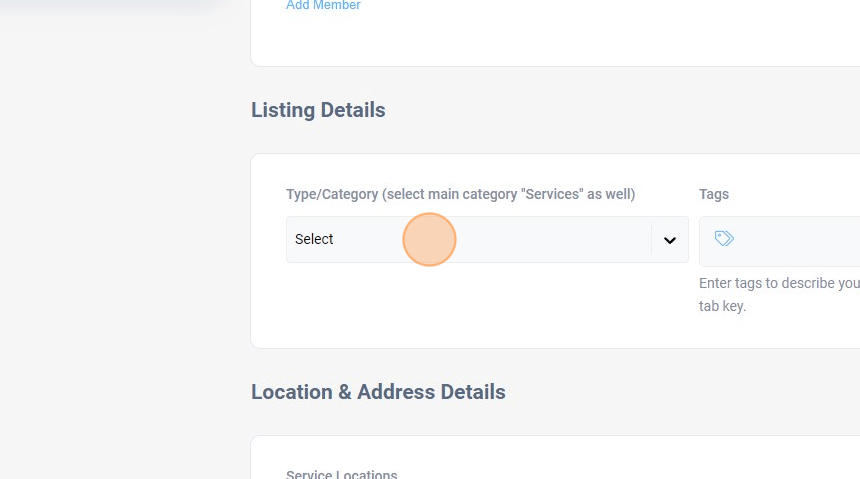
47. Select your category “Services”
48. Click the “Tags” text field.
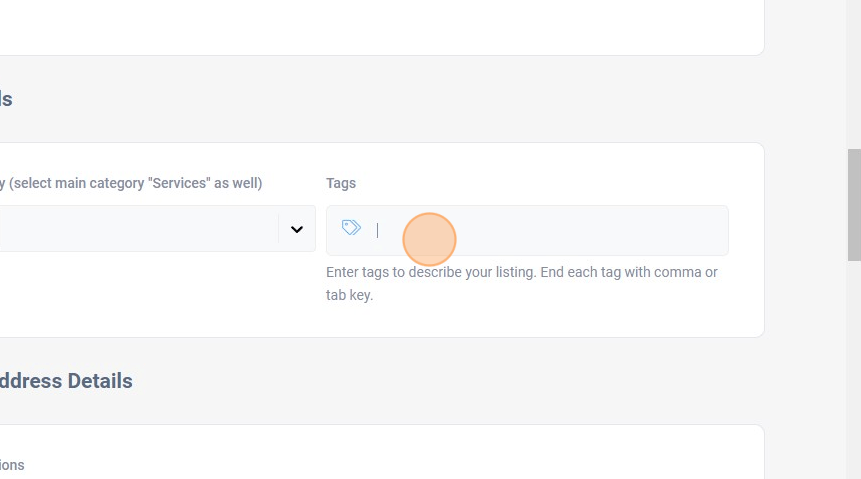
49. Enter a tag name and press the comma key
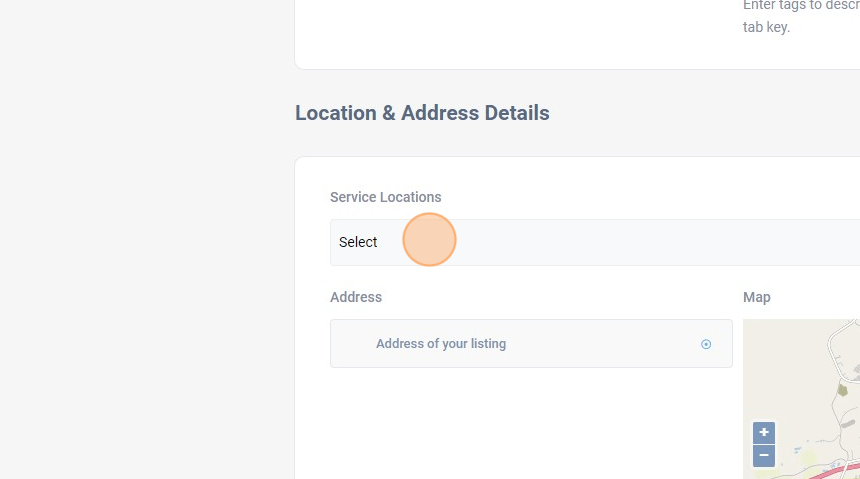
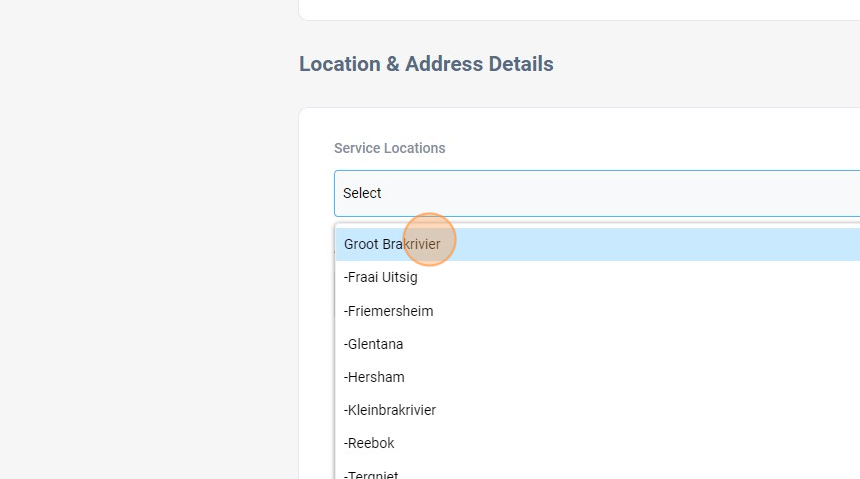
50. Click on the “Select” Service locations field.
51. Choose your location
52. Click the “Address of your listing” field.
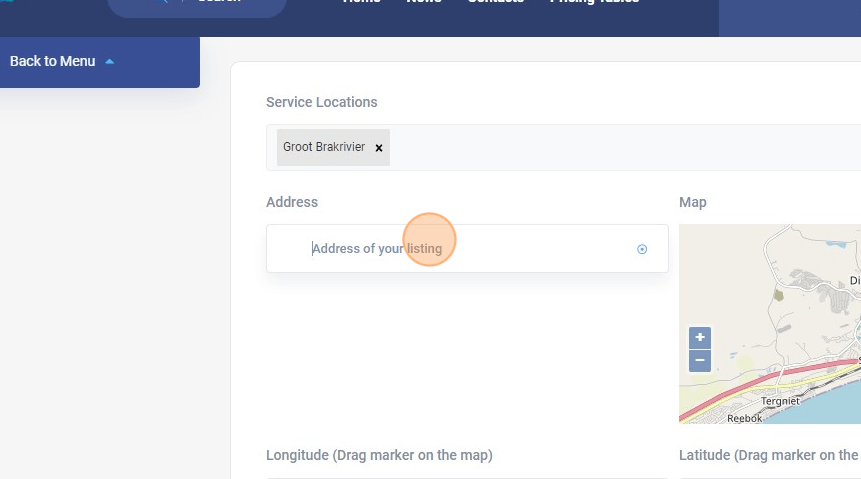
53. Enter your physical address if applicable
54. Click on the Header Background upload button.
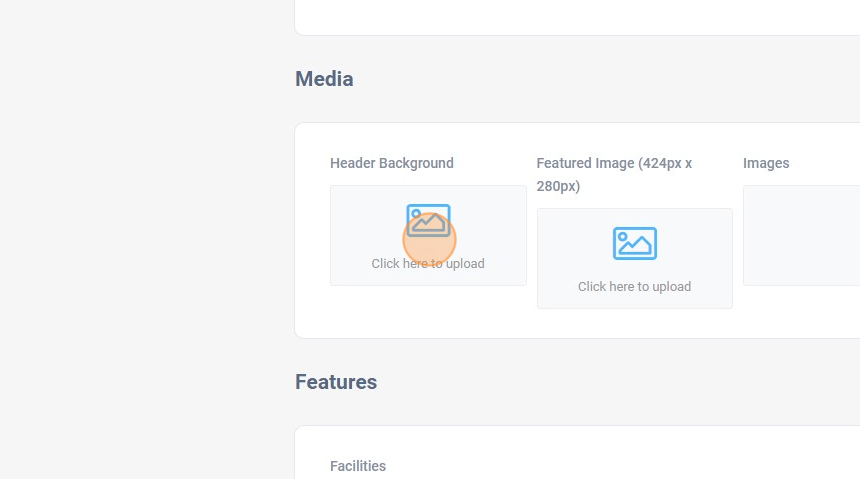
55. Upload and select your image
56. Repeat for the Featured Image and Images buttons
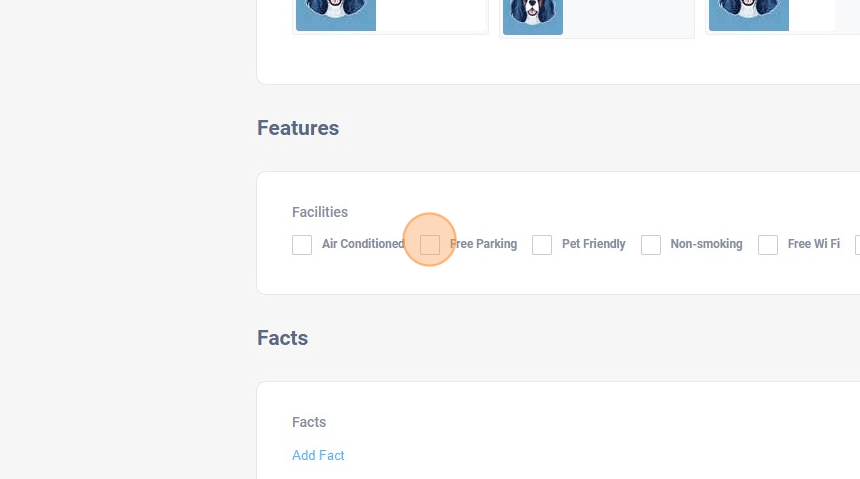
57. Select applicable Features
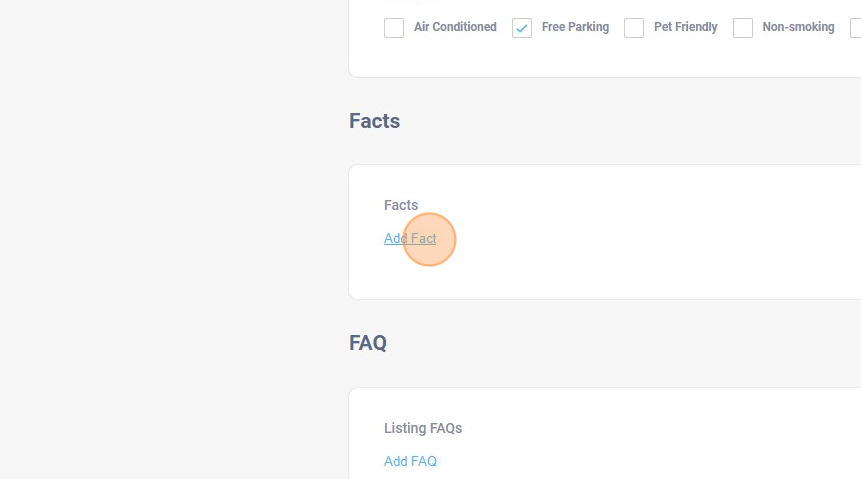
58. Click “Add Fact”
59. Click the “Fact Title” field.
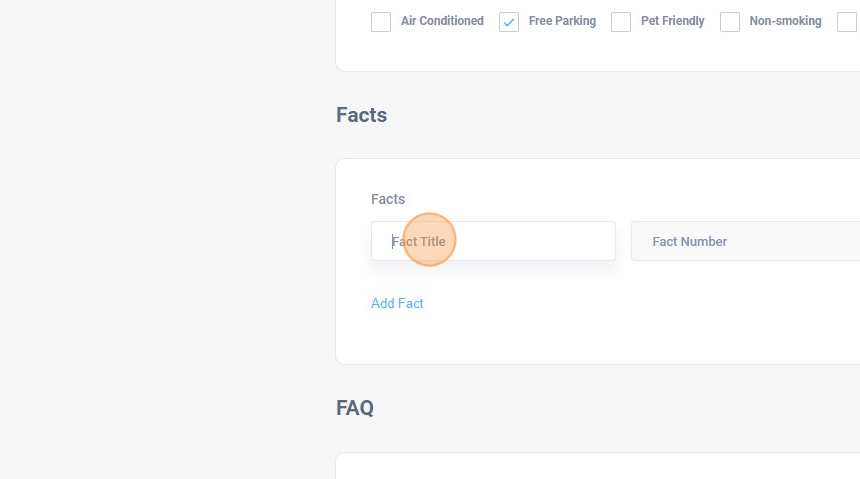
60. Type a fact title
61. Click the “Fact Number” field.
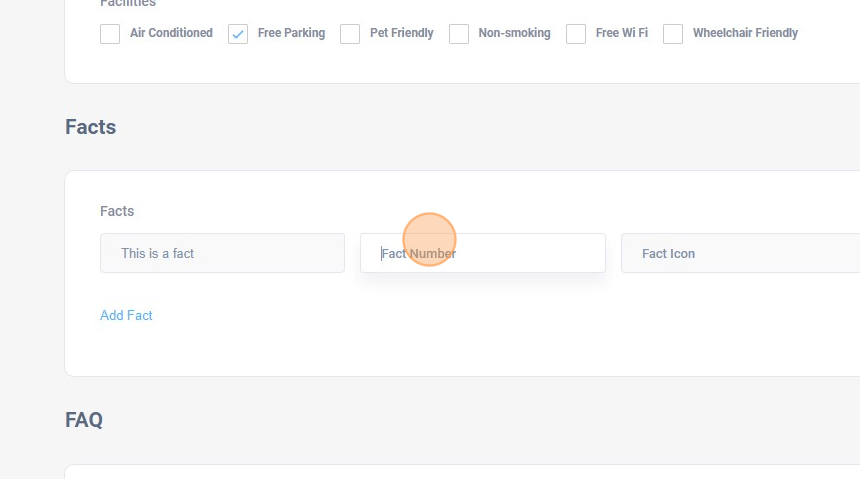
62. Enter your fact quantity
63. Click the “Fact Icon” field.
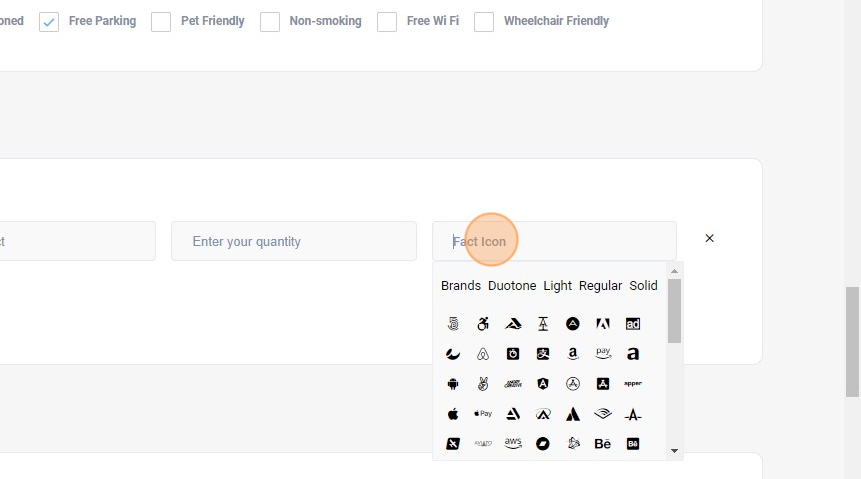
64. Choose a fact icon
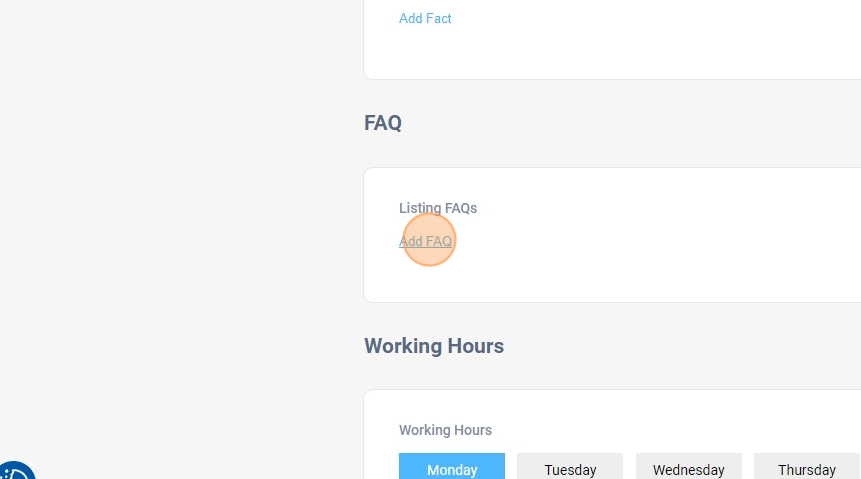
65. Click “Add FAQ”
66. Click the “Question” field.
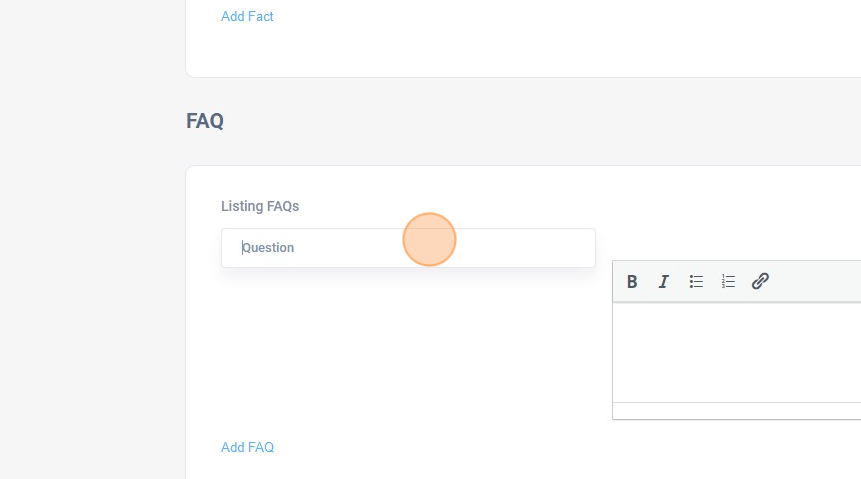
67. Type a frequently asked question
68. On the next text field answer the question
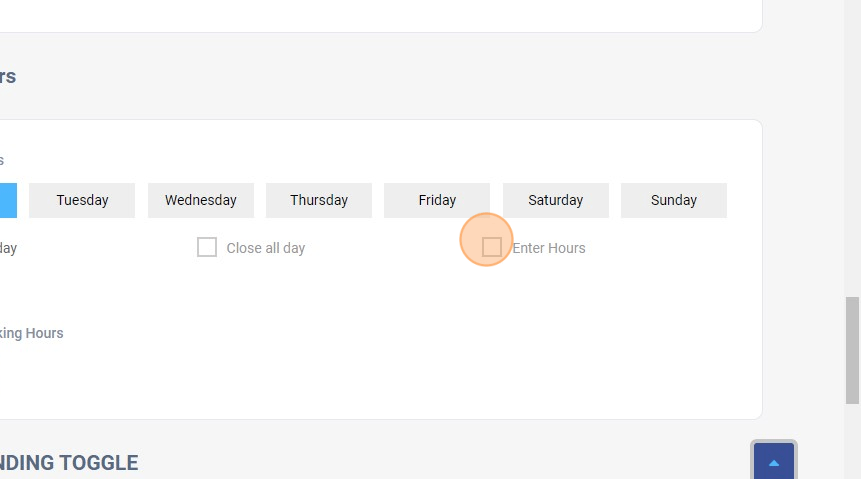
69. Click the “Enter Hours” field.
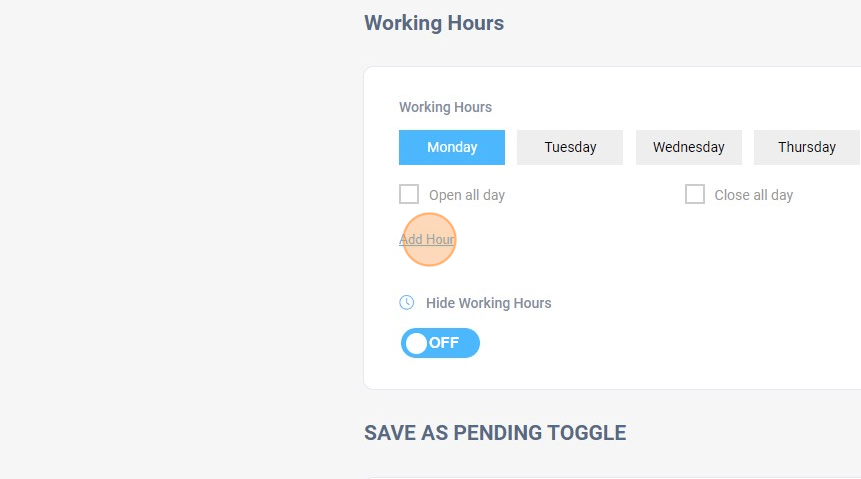
70. Click “Add Hour”
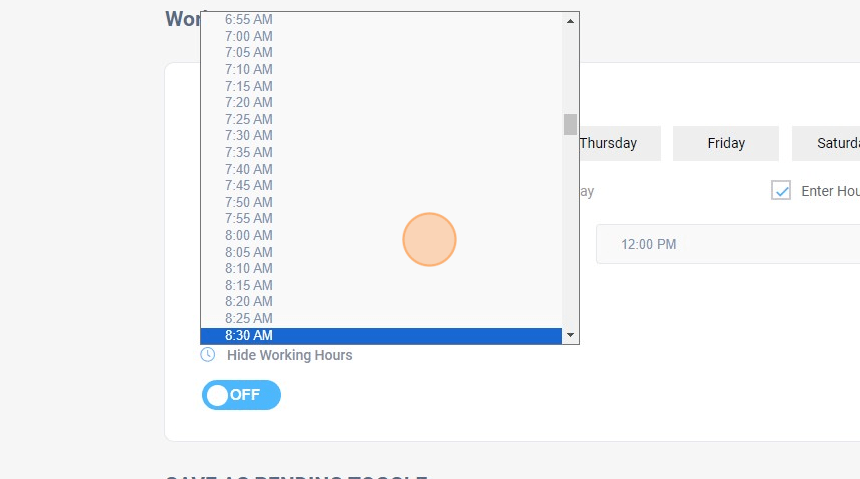
71. Click the time selection dropdown and select your opening hours.
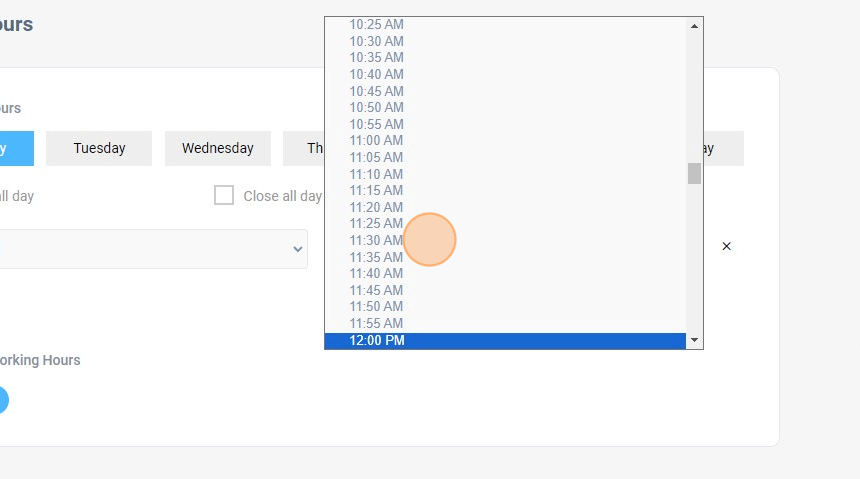
7. Click the closing hours dropdown and select your closing hour.
73. Click “Save Changes”
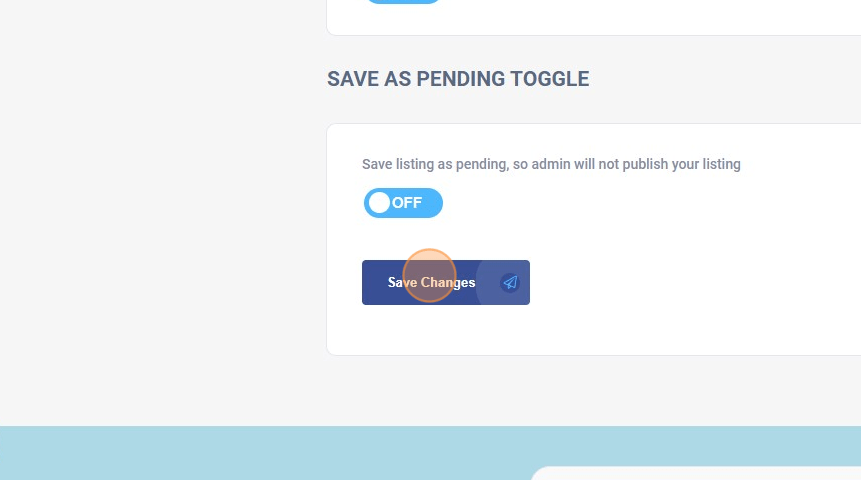
74. Your Listing will now be reviewed by an Administrator for publishing

Add Comment
You must be logged in to post a comment.